Requirements
- You will need to be the
Adminof the Statsig Organization you intend to add SSO with Okta to. - You will need to be the Administrator of the Okta account you want to link.
Supported Features
Statsig supports the OIDC protocol for SSO with the following flows:- Service Provider(SP)-Initiated Authentication for Single Sign-On (SSO). This flow is initialized when logging in on the Statsig website.
- Identity Provider(IDP)-Initiated Authentication for SSO. This flow is initialized when launching the Statsig App from Okta.
- Just-In-Time (JIT) provisioning for SSO. Upon successful login for the first time, Statsig automatically provisions an account for the user.
Configuration
Adding the Statsig OIDC Application in Okta
- Navigate to your Okta portal.
- On your Okta portal, click on
Applicationson the left-hand-column, and click intoApplicationsin the dropdown.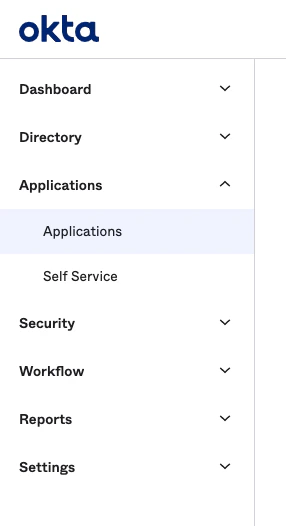
- On the Applications page, click on the
Browse App Catalogbutton.
- On the App Catalog page, use the searchbox to search for Statsig and click on the Statsig OIDC Application.
- In the Statsig Application, click on the
Addbutton.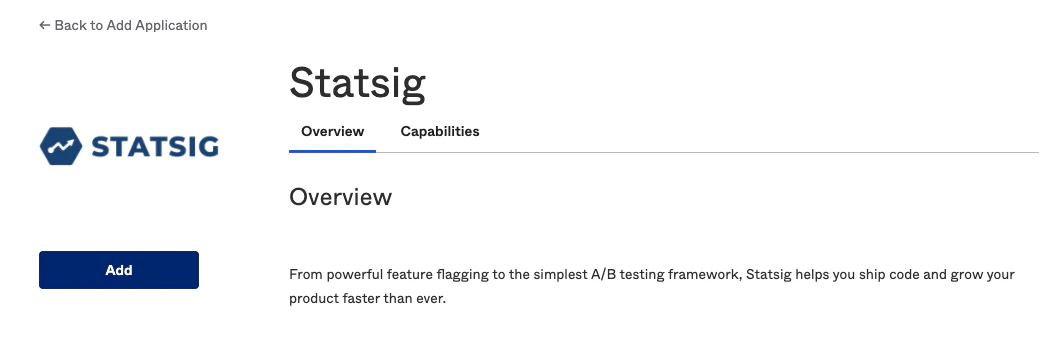
- After creating the Statsig OIDC Application in Okta, navigate to the
Sign Ontab in the Application, note theClient IDandClient Secretfields that will be needed to enable Single Sign-On with OIDC on the Statsig Project. Also note that when adding the Statsig OIDC Application in Okta, the sign-in and sign-out redirect URIs are automatically configured.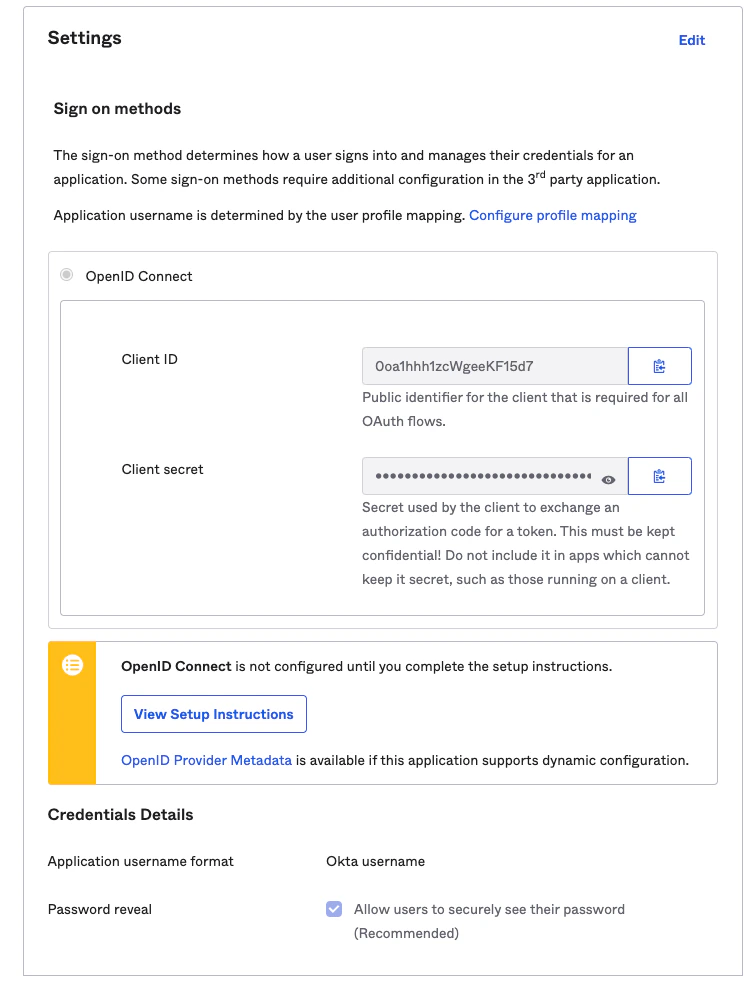
SP-Initiated SSO
- Navigate to https://console.statsig.com/sso
- Enter your email address and click on “Authenticate”
- You will be redirected to authenticate with Okta. If prompted, enter your Okta credentials.
- Upon successful authentication, you will be redirected and logged in to Statsig.